


A: It depends.If we have bulk goods in stock, we can ship goods within 3 days after the QC process. If we don’t have stock, normally it takes 7-15 days for OEM samples and 20-30 days for bulk goods. If it refers to opening the new mold, it takes an extra 7-15 days to make the mold.
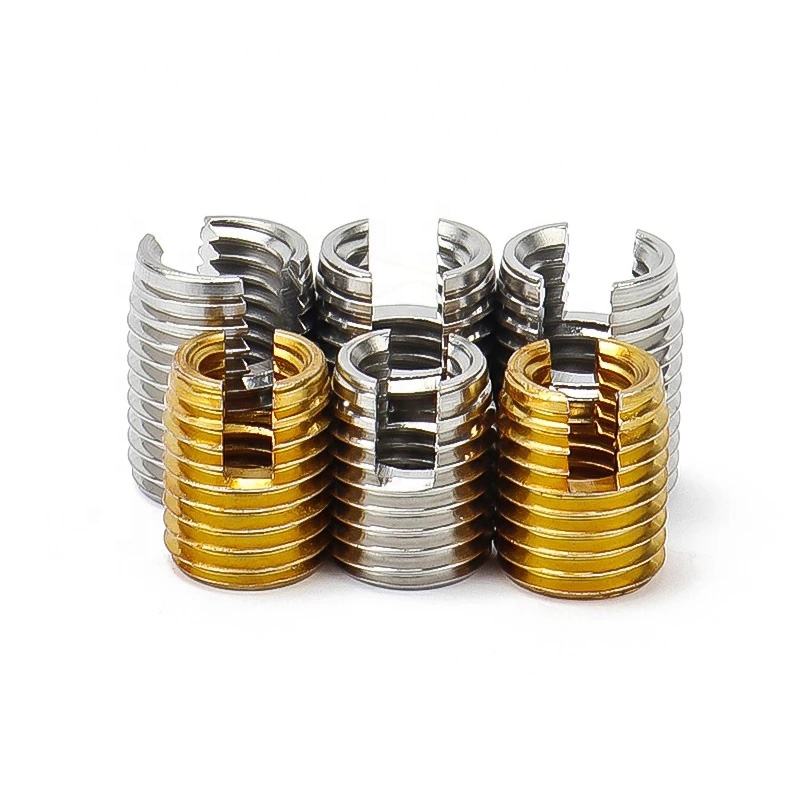
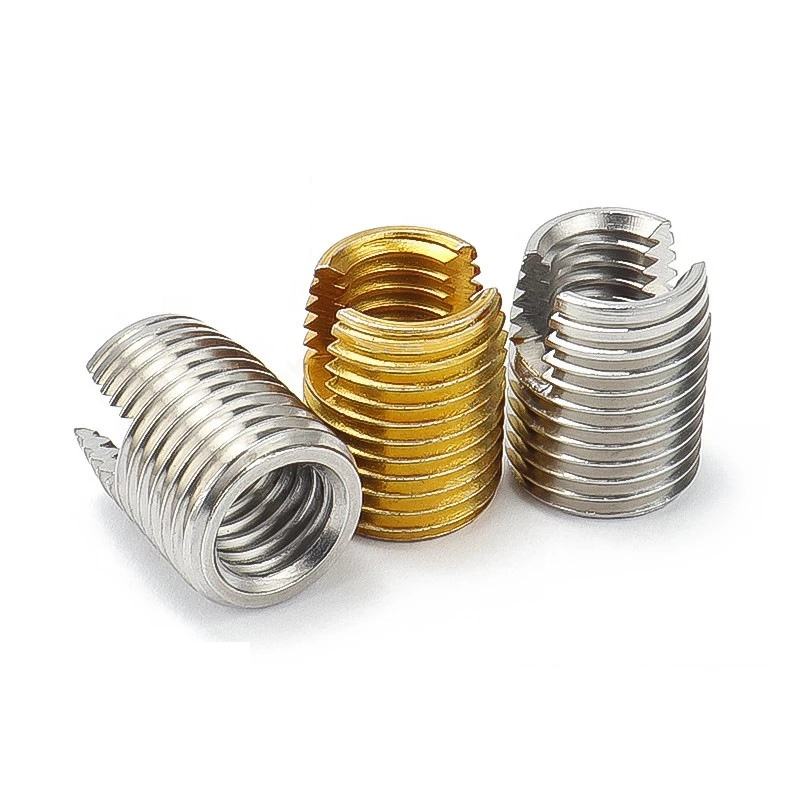
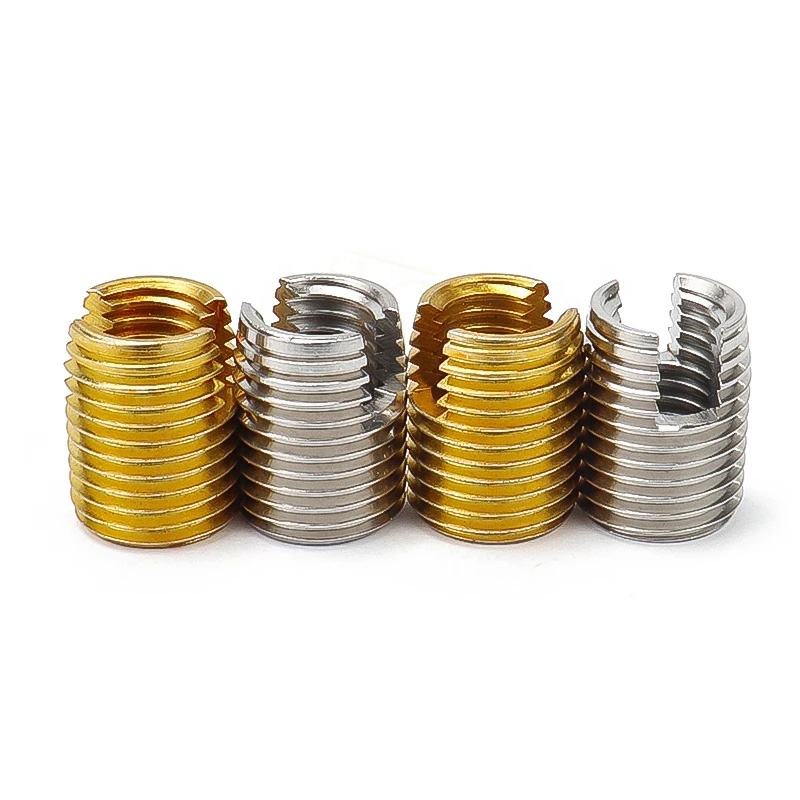
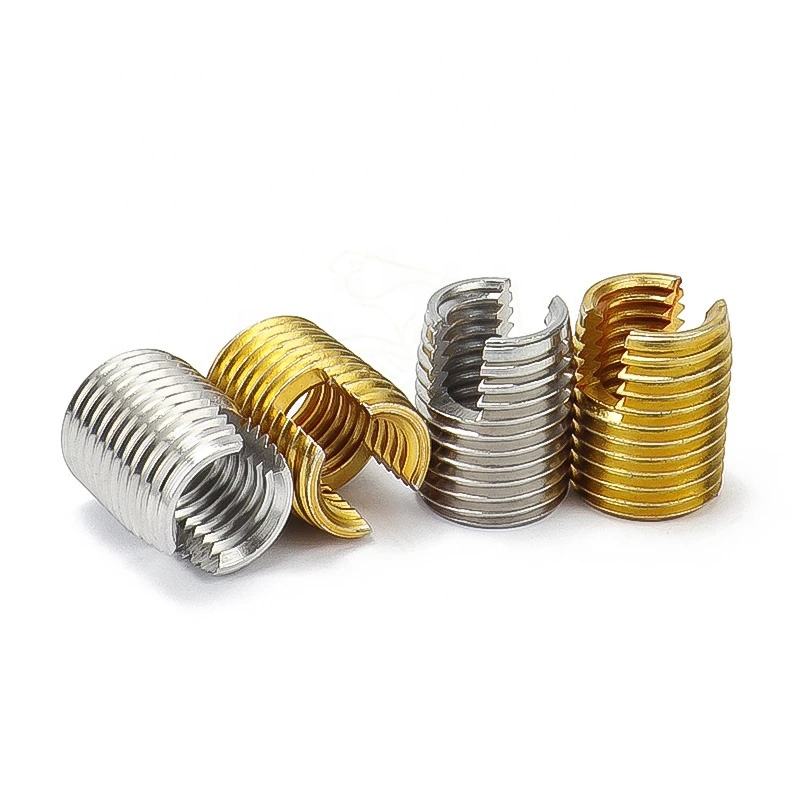
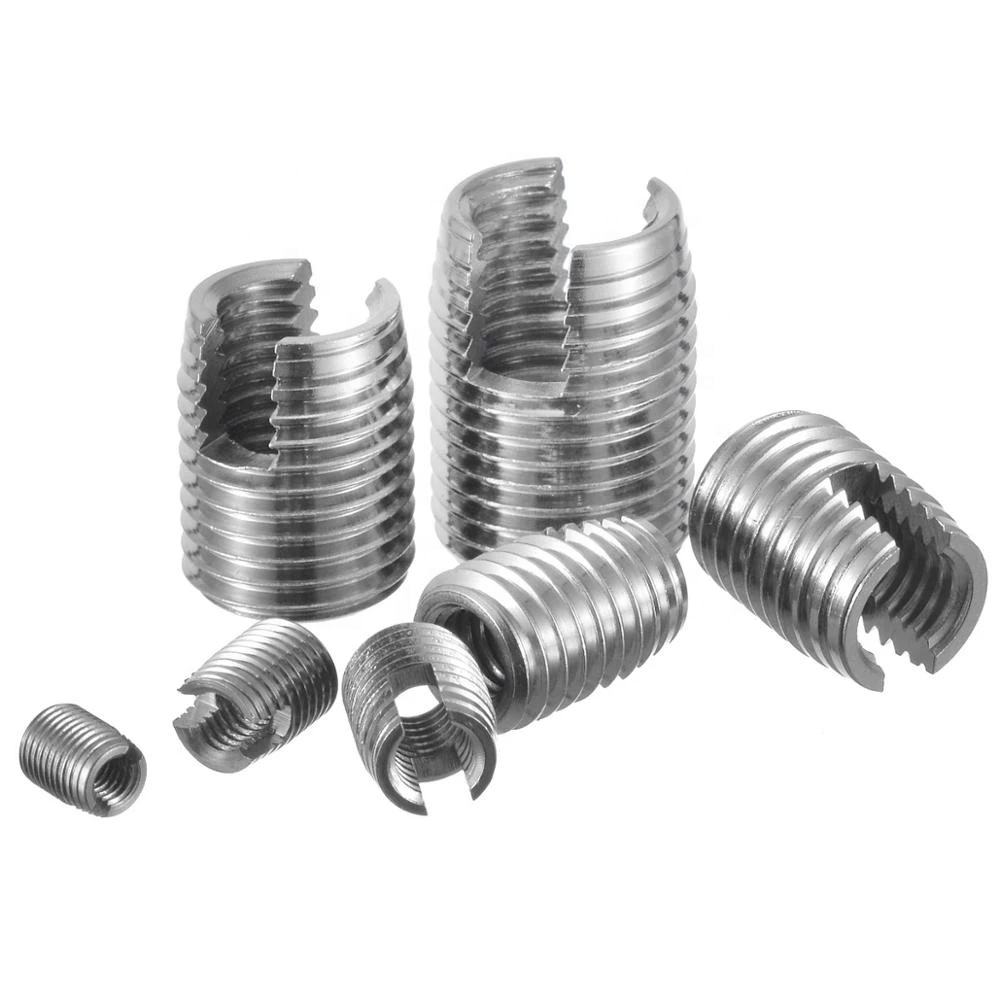
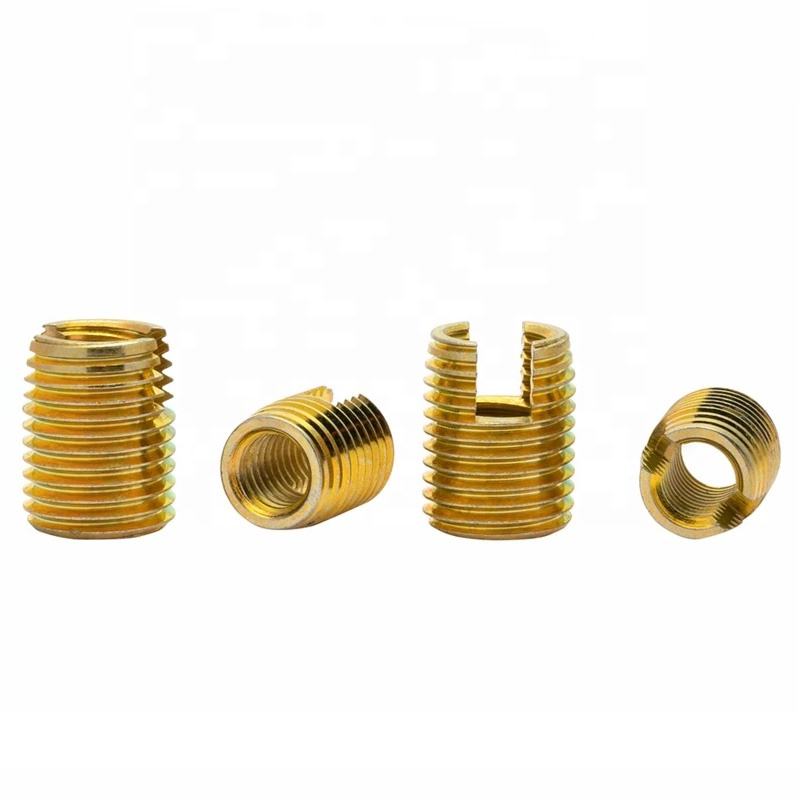
Slotted screw sleeve
I. Overview of Self-tapping Brackets
Self-tapping dental crowns are also known as self-tapping screw caps. Self-tapping screw caps are a new type of fastener that enhances the strength of threaded connections. They have threads both on the inside and outside and can be embedded in soft materials such as plastic, aluminum alloy, cast iron, and copper to form high-strength internal threaded holes. Self-tapping screw caps can also repair damaged internal threads.
Self-tapping dental crowns are processed by integral turning. The general process flow is as shown in the figure below. They can be processed for both internal and external threads in one setup.
Precision finishing of billets –>Thread of the rod stock–>Drill the internal thread hole–> Tap the internal thread–> Drill the cutting hole (make the cutting groove)–>Inspect and package.
II.Self-tapping dental retainers can be classified into those for hard substrates and those for soft substrates based on the substrate.
Hard substrate dental braces
KKV braces are applicable for 302-slot type and 307/308-triple-hole type. Common base materials include aluminum alloy, cast iron, etc. They are rarely used for hardwood, medium-density fiberboard, thermoplastic and thermosetting plastics.
Soft base material dental braces
The Rampa or DIN7965 dental splints are applicable. Common base materials include cork, plywood, particle board, hardwood, medium-density fiberboard, thermoplastic and thermosetting plastics.
III. Installation Method of Self-tapping Brackets
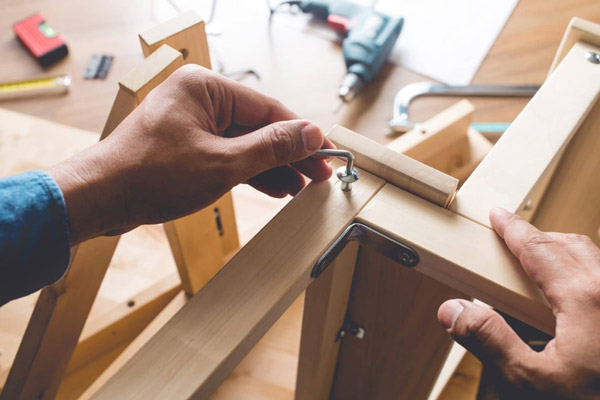
Manual installation
When the installation quantity is small, a simple installation method can be adopted. Specifically, use the corresponding specification bolts and nuts to fix the self-tapping screw sleeves on the corresponding type of bolts, fix them with the same type of nuts to form a whole together, then screw the screw sleeves into the bottom holes with a wrench, and finally withdraw the bolts to complete the installation.
Automatic installation
When the number of installations is large, a special self-tapping screw sleeve installation tool can be used. First, install the self-tapping screw sleeve onto the special tool. Then, rotate the tool with the installed screw sleeve into the pre-drilled hole for about one turn. Ensure that the tool is perpendicular to the end face of the pre-drilled hole before applying force to screw the screw sleeve in. When the end face of the self-tapping screw sleeve is about 0.2mm lower than the end face of the pre-drilled hole, stop screwing in and reverse the special tool to remove it. The tail end of the self-tapping screw sleeve installation tool is a hexagonal head. It can be connected to a manual tapping wrench or can be equipped with an electric or pneumatic tool.
Precautions for Installing Self-tapping Screw Sleeves
For different processing materials, refer to the size specifications of the drilled holes and carry out pre-drilling processing. When the hardness of the corresponding material is relatively high, please slightly enlarge the bottom hole that is drilled within the range of the hole.
2. Insert the self-tapping screw sleeve downward through the slot opening and fully install it into the front end of the tool. Ensure that it makes direct contact with the workpiece. During installation (1-2 pitches), please confirm that it is aligned with the bottom hole. Do not tilt it. If you find it tilted, do not reverse the tool and re-adjust before using it again. After entering 1/3 to 1/2, do not insert it again from the bottom. Also, do not rotate the tool in the reverse direction; otherwise, it will cause product failure.
3. After assembly of the self-tapping screw sleeves, they should be at least 1mm lower than the surface of the parts.
Frequently Asked Questions
A: Normally, we make a 30% deposit after Pl confirmation and a 70% balance before shipment. lf order amountis too small, we can also change to 100% deposit in order to save bank handling charge.
A: A pre-bulk sample check can solve this problem to the largest extent. We will arrange production according to the pre-bulk sample quality standard after your confirmation of the samples.
A: We are not only a trading company but also a manufacturer. Our factory mainly focuses on mold design and quality inspection. Our bulk production may come from the factories we have worked with for a long time, and they are all ISO9001 certified. Through this cooperation model, we can not only ensure product quality and service, but also satisfy the diversified product needs of customers, and the price is more advantageous.
A: Yes,we are very glad to offer you samples.
However the express courier cost from our company to your required address will be upon your account.
Usually we use DHL, UPS, FEDEX or EMS as the courier.
It will take 3-7 days to arrive many Europe countries and North America.
Which express courier we will use, it’s up to your convenient or the express charge.
A: No,just part of our capable categories have been showed in our site.
If you are looking for relative industrial products, please feel free to contact us.
Get Quote Now!
Welcome to discuss your purchasing requirements with our customer service.